Default Gateway Not Available Windows 11 (Fix Guide That Actually Works)
WiFi Connected… But the Internet Is Ghosting You?
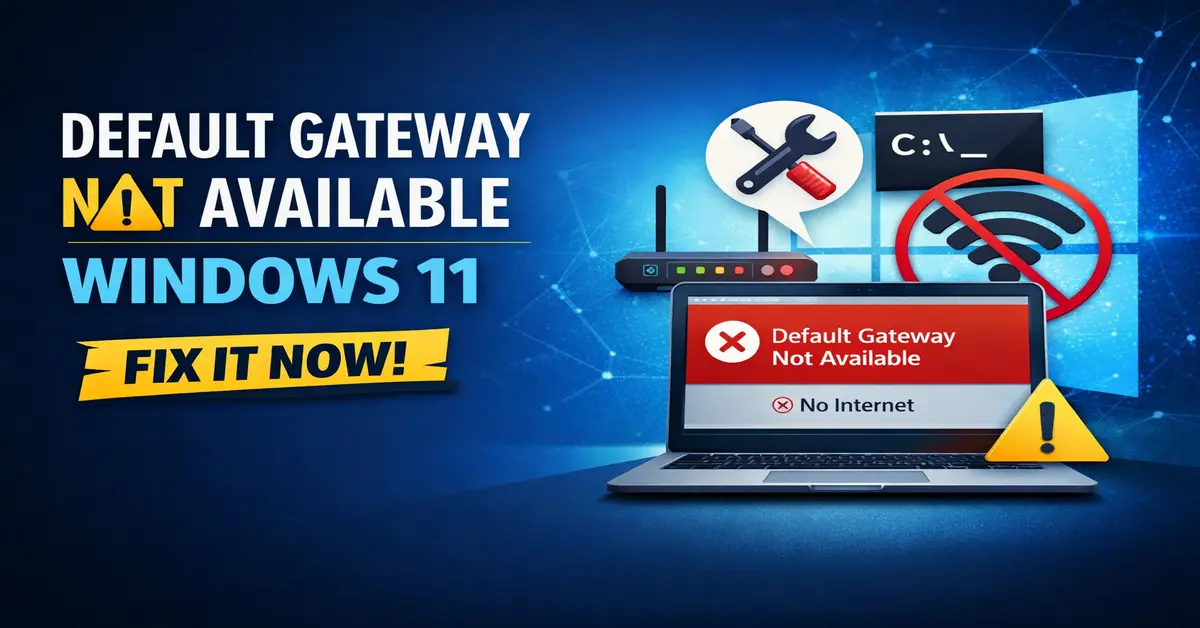
Default Gateway Not Available Windows 11? You’re showing full bars, strong signal, everything looks fine and yet your browser just spins like it’s stuck in 2005.
Then Windows hits you with the classic:
“Default Gateway Not Available.”
Translation? Your PC and your router just stopped talking to each other and your workflow, Zoom call, download, or gaming session is officially wrecked.
Here’s the straight truth:
This is one of the most common Windows 11 network errors, especially after updates, driver changes, or aggressive power-saving settings.
Even better?
In most cases, you can fix it in under 10 minutes using built-in tools no sketchy software, no advanced networking degree.
Let’s break it down and get you back online.
Also Read: Headphones Not Detected Windows 11
What Does “Default Gateway Not Available” Mean?
Your default gateway is the device that connects your computer to the internet usually your router.
When Windows 11 throws this error, it means:
- Your PC can connect to the network
- But it can’t reach the router properly
- So the internet stops working
Common Symptoms
- WiFi says Connected, No Internet
- Random disconnections
- Ethernet shows Limited connection
- Internet works on phone but not on PC
Why This Happens
This issue is usually triggered by:
- Outdated or broken network drivers
- Power-saving settings turning off your adapter
- Corrupted TCP/IP stack
- Wrong IP configuration
- Windows 11 updates replacing stable drivers
Quick Pre-Fix Checklist (Do This First)
Before jumping into deeper fixes, knock these out:
- Restart your PC
- Power cycle your router (wait 60 seconds)
- Forget the WiFi network and reconnect
- Run Windows Network Troubleshooter
If the error is still there good now we go for the real solutions.
Fix: Default Gateway Not Available Windows 11
Method 1: Update Network Adapter Driver (Most Successful Fix)
Outdated drivers are the #1 cause of this error.
Step-by-Step
- Press Win + X → Device Manager
- Expand Network adapters
- Right-click your WiFi or Ethernet adapter
- Click Update driver
- Select Search automatically for drivers
- Restart your PC
Why This Works
Windows updates often install generic drivers that break stability. Updating restores proper communication between your system and router.
Also Read: Network Adapter Missing in Windows 11
Method 2: Reinstall the Network Adapter
If the driver is corrupted, updating won’t help you need a clean reinstall.
Steps
- Open Device Manager
- Right-click your network adapter
- Click Uninstall device
- Restart your PC
Windows will automatically reinstall a fresh, stable driver.
Method 3: Disable Power Saving for the Network Adapter
Windows 11 loves saving battery even if it kills your internet.
Step-by-Step
- Go to Device Manager
- Double-click your network adapter
- Open the Power Management tab
- Uncheck:
Allow the computer to turn off this device to save power
This is a massive fix for laptop users with random disconnects.
Method 4: Reset TCP/IP Stack (Deep Network Fix)
If your network configuration is corrupted, this resets everything.
Steps
- Search Command Prompt
- Run as Administrator
- Enter the following:
netsh int ip reset
netsh winsock reset
- ipconfig /release
- ipconfig /renew
- ipconfig /flushdns
- Restart your PC
This rebuilds your entire network communication system.
Method 5: Set a Manual IP Address
Best for:
- Gamers
- Power users
- Persistent errors
Steps
- Open Network Connections
- Right-click your active adapter → Properties
- Select Internet Protocol Version 4 (IPv4)
- Choose Use the following IP address
- Enter your:
- IP address
- Subnet mask
- Default gateway
- DNS server
- IP address
This creates a stable, conflict-free connection.
Method 6: Switch to High Performance Power Plan
Balanced mode can throttle your network adapter.
Steps
- Open Control Panel
- Go to Power Options
- Select High Performance
Instant stability boost.
Pro Fixes (Advanced but Powerful)
If the issue keeps coming back:
- Update your router firmware
- Switch to Google DNS (8.8.8.8 / 8.8.4.4)
- Perform a full Windows 11 Network Reset
- Replace a faulty USB WiFi adapter
Cheap adapters = unstable gateway connection. Period.
Why This Error Keeps Coming Back
Let’s be real if this keeps happening, one of these is the culprit:
- Low-quality WiFi card
- Windows auto-installing bad drivers
- Sleep mode breaking the adapter
- ISP DNS instability
This isn’t random. It’s a hardware + driver + power management combo problem.
How to Prevent It Permanently
Do these and you’ll rarely see this error again:
- Keep network drivers updated
- Disable adapter power saving
- Avoid automatic driver replacement
- Create a restore point before major updates
- Use a high-quality network adapter
Stable hardware = stable connection.
Also Read: Speaker Icon Missing Windows 11
FAQ (Quick Answers That Rank)
How do I fix Default Gateway Not Available in Windows 11 fast?
Update or reinstall your network adapter driver that solves it for most users.
Is this a router issue or a PC issue?
In 90% of cases, it’s your PC’s driver or power settings.
Does Network Reset work?
Yes especially if your TCP/IP stack is corrupted.
Conclusion: This Error Looks Scary But It’s Fixable
This is not a “your PC is dying” situation.
It’s usually:
- A driver problem
- A power setting
- A corrupted network stack
Start from Method 1 and move down you’ll almost always fix it before the end.
Also Read: Default gateway repeatedly isn’t available